
How to Draw a Glue Bottle: Free Step-by-Step Drawing Page for Kids
Draw along in 6 easy steps with a pencil and eraser. It takes about 15 minutes and works for ages 5 and up. Print the free step-by-step page below, or draw along with the video.
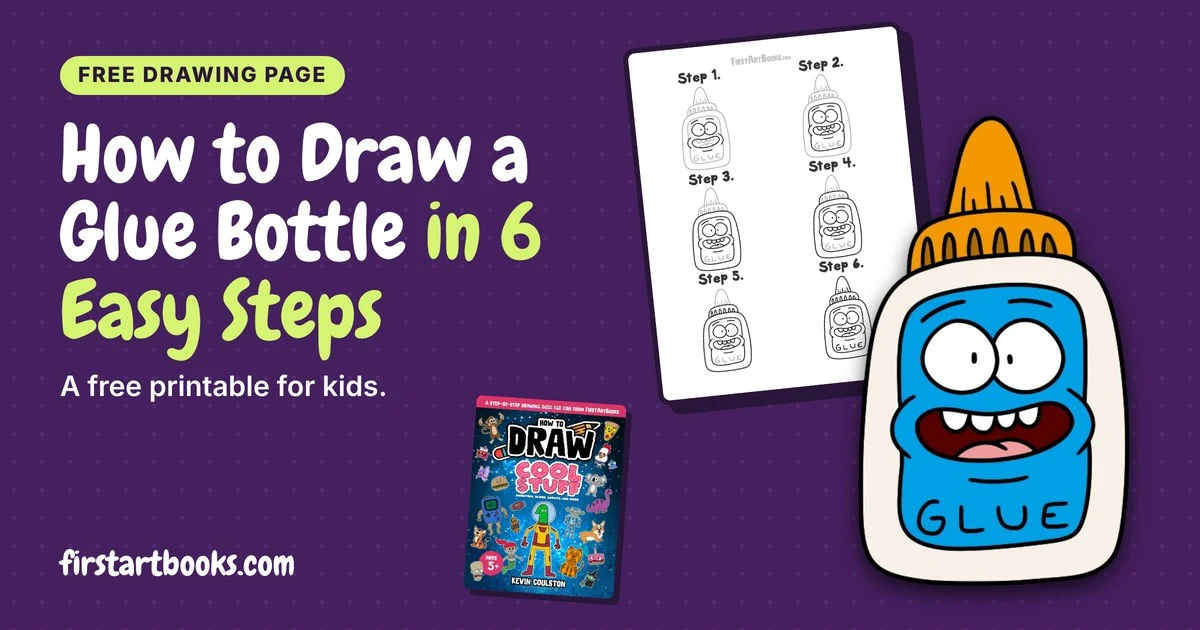
- Step-by-step drawing
- Ages 5+
- Grades K–2
- Easy
- About 15 min with the video
You’ll need
- Pencil and eraser
- Paper, or the printed page
- Crayons, markers or colored pencils
You’ll practice
- Breaking a drawing into simple shapes
- Following steps in order
- Adding your own details
How to Draw a Glue Bottle: A Free Drawing Page
Every classroom has one: the trusty bottle of school glue. I gave mine big googly eyes and a goofy grin, and turned it into a free step-by-step drawing page you can print at home or in the classroom. It’s a fun one for back to school, art class or any day kids are making crafts.
Like every page in my books, the drawing is split into six easy steps. A light gray outline of the finished drawing appears on every step to help kids plan the size and spacing, and the black lines show what to draw, adding a little more each step. It’s a great fit for kids ages 5 and up, and it takes about 10 to 15 minutes.
Download the Free Glue Bottle Drawing Page (PDF)
Watch it being drawn
Watch the pencil draw it one step at a time, then grab a pencil and try it yourself.
How to Draw a Glue Bottle, Step by Step
Here’s what happens in each of the six steps. Draw lightly at first, and don’t worry about wobbly lines.
- Step 1: Start with the face: two big round eyes with a dot in each one, the eyebrows, a wide open mouth, a cheek on each side and a short line for the chin.
- Step 2: Draw the teeth and the tongue inside the mouth. Then draw the label, a rounded rectangle around the face.
- Step 3: Draw the bottle around the label, with a curved top.
- Step 4: Draw the cap on top of the bottle.
- Step 5: Add the little ridges around the cap.
- Step 6: Finish with the pointy nozzle and the lines on it, then write GLUE at the bottom of the label.
Then try it again without looking at the steps. Kids are always surprised by how much they remember the second time around.
Tips for Coloring Your Drawing
Once the drawing is done, it’s time for color. Here are a few easy ideas:
- Classic glue colors: a white bottle, an orange cap and a bright blue label, just like the one I colored.
- Glitter glue: add tiny dots and stars all over the bottle to make it sparkle.
- Make it yours: change the label to a color you love and write your own name on it instead of GLUE.
Turn Your Drawing into Something New
Once kids can draw the glue bottle, they can turn it into a whole cast of characters:
- Draw its friends: add a pair of scissors, a crayon and a pencil with faces of their own.
- Change the face: try a sleepy, surprised or grumpy glue bottle by changing the eyes and mouth.
- Tell a sticky story: draw your glue bottle, then write about the day it glued the whole classroom together.
Using This Page in the Classroom
Teachers are welcome to print copies of this page for the whole class, for classroom or home use. It makes an easy art center, an indoor recess activity or an early-finisher page.
- Draw it, then write about it: my glue bottle draw and write worksheets have writing pages for kindergarten, first grade and second to third grade.
- School supplies: the glue bottle makes a fun kickoff for a lesson on classroom supplies and how to take care of them.
- More ready-made lessons: my free teacher resources include printable book pages, sub plans and art center cards.
Love Drawing Silly Things? Draw My Cool Stuff
If your kids had fun drawing a glue bottle, my book How to Draw: Cool Stuff is packed with monsters, aliens, robots and more to draw, each one broken down into six simple steps. Like all of my books, every character in it was hand-drawn by me, Kevin Coulston. None of the art in my books is AI-generated or copied from anywhere else.
Check out How to Draw: Cool Stuff
Free Glue Bottle Drawing Page (save and print)
Print it on US Letter paper (choose “Fit to page” if your printer needs a little room at the edges), grab a pencil and follow the six steps to learn how to draw a glue bottle.
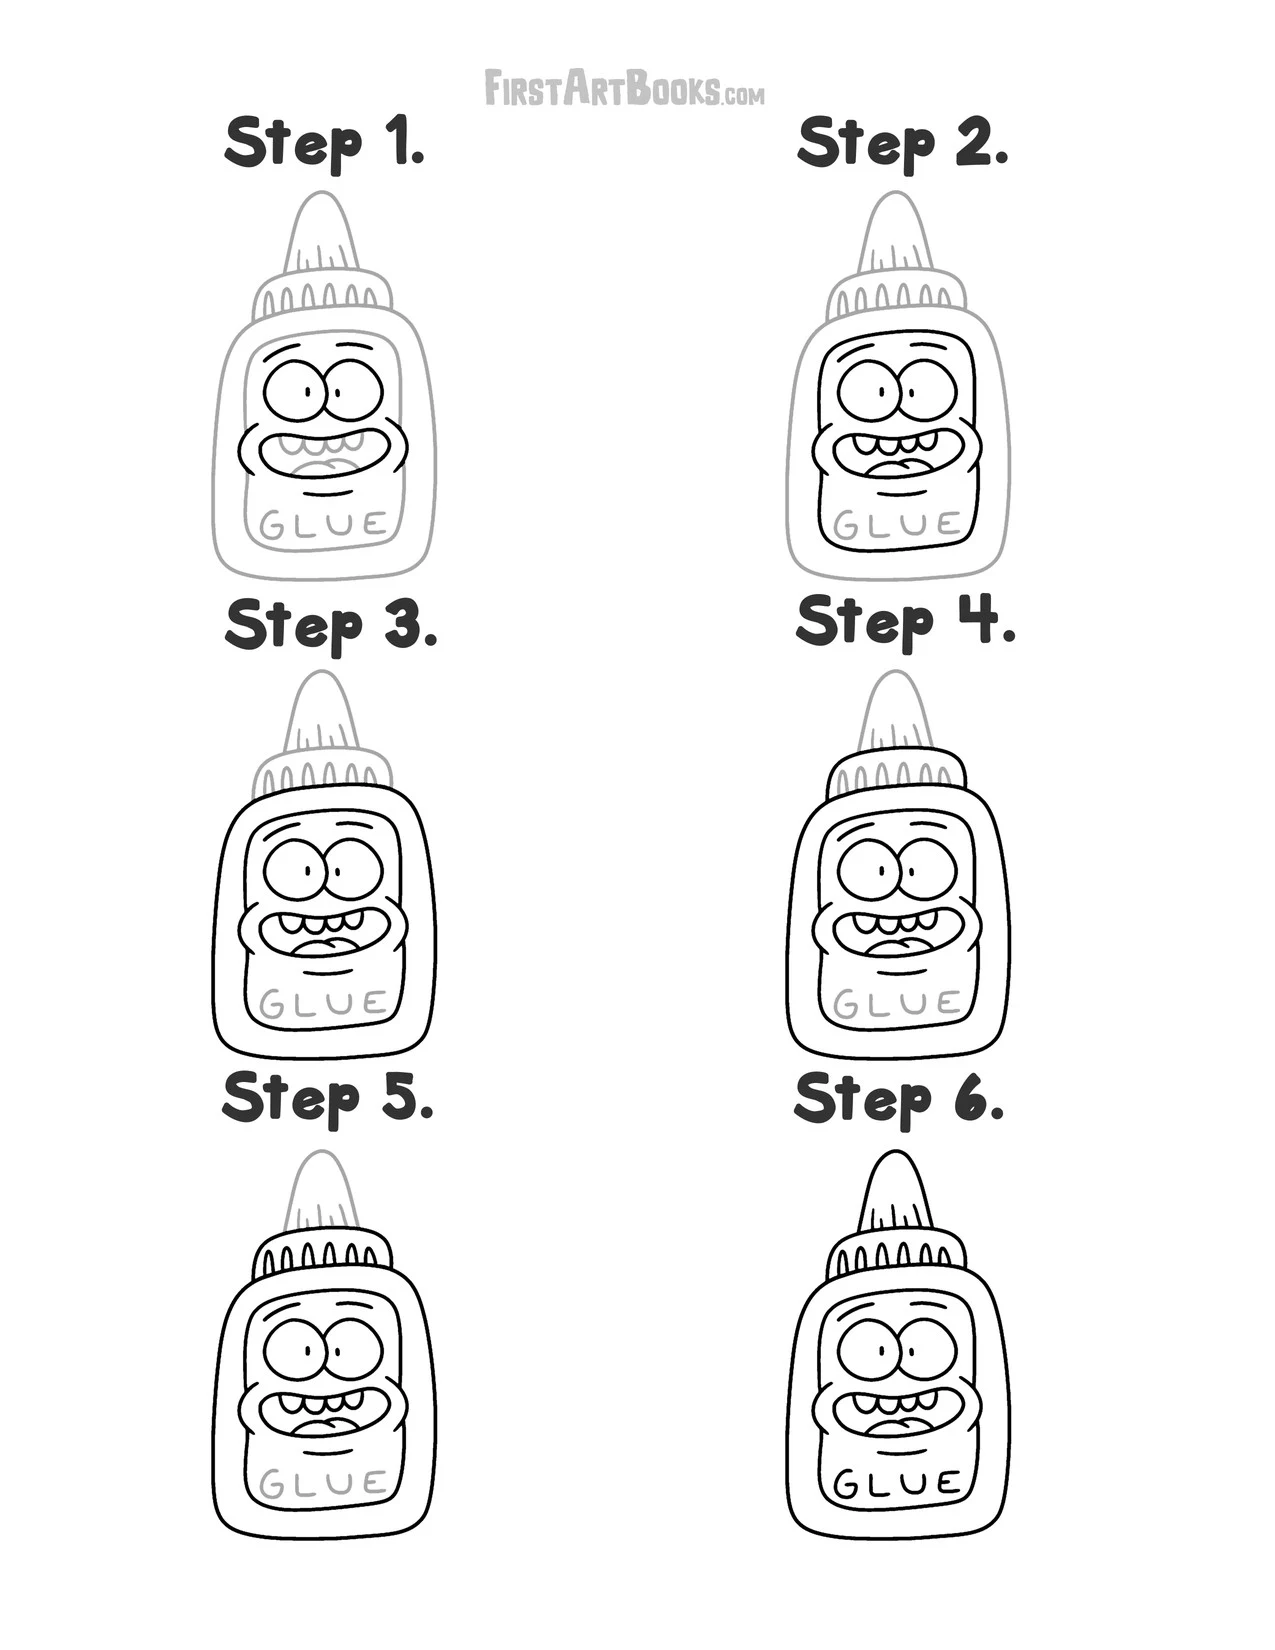 Download this free drawing worksheet to learn how to draw a glue bottle
Download the Free Glue Bottle Drawing Page (PDF)
Happy Drawing!
Print the page, grab a pencil and draw along. When your glue bottle is finished, color it in and show it off. Happy drawing!
Draw it 3 ways
Every FirstArtBooks theme comes in three formats. Trace it, draw it step by step, or copy it square by square: the more ways kids draw a character, the better they know it.
- How to Draw
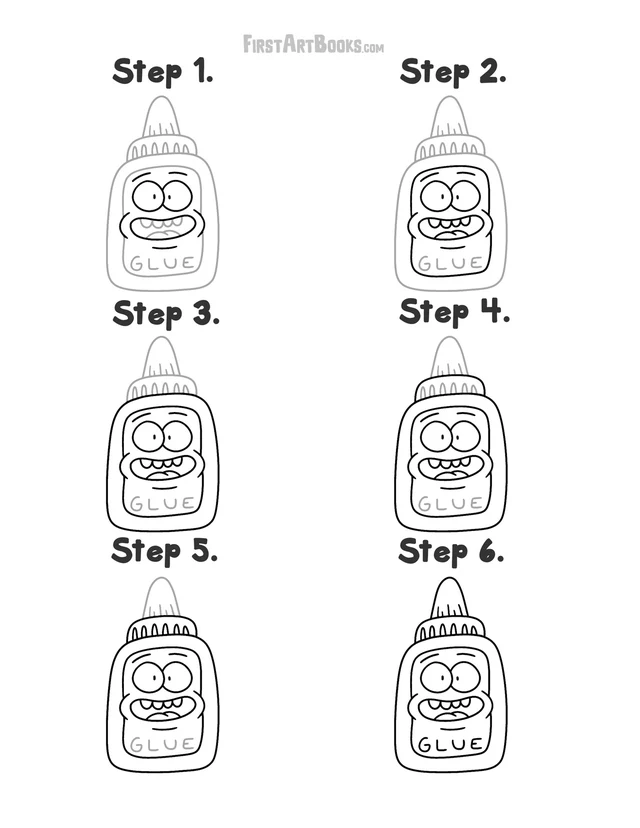 Draw it step by stepYou’re on this pageSee all How to Draw books
- Trace Then ColorTrace Then Color booksTrace it, then color itNo free page of this one yet. See the Trace Then Color books (ages 3+)
- Draw by Grid
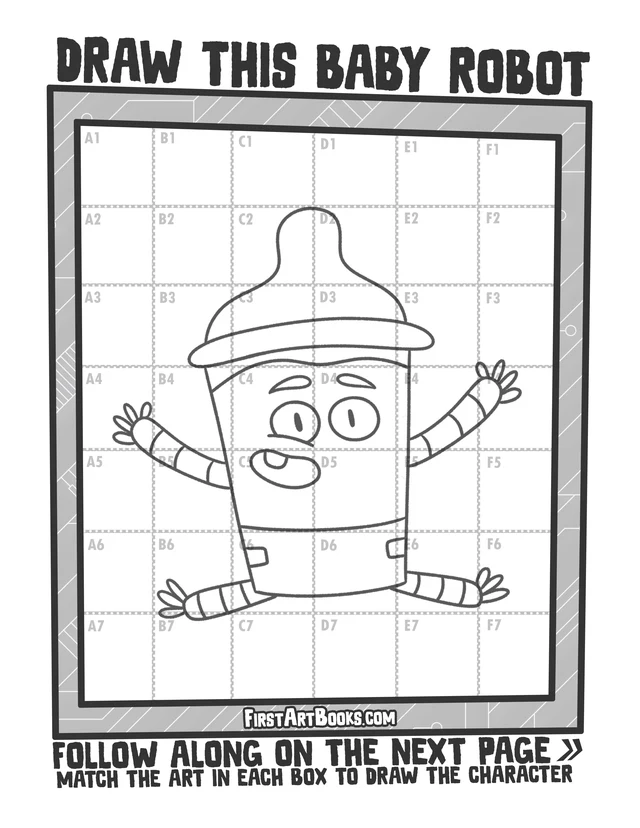 How to Draw a Baby Bottle Robot The Easy WayA close cousin · Ages 7+See all Draw by Grid books
Finished? Draw the scene next
- Add a background: draw a shop window where it’s for sale.
- Write one line under your picture to finish this story:
A kid walked in and pointed at it…
That’s a picture book page. Draw two more and you have a whole story.
Draw it, then write about it
Give your glue bottle: free a name and a job. What makes it happy, and what makes it grumpy? Write two or three sentences.
Directed drawing and writing worksheets for this lesson: Glue Bottle Directed Drawing and Writing Worksheet, with a kindergarten, 1st grade and 2nd–3rd grade writing page.
Print a draw-and-write sheet: a box for the drawing and lines for the story. Primary lines (K–2) · Regular lines (grades 2–5)
Want to make it a whole story? Try the comic story starter or fold a mini-book in Story Studio.
Common mistakes and quick fixes
- The face is too small.
- Give the object a face that fills about half of the front. Big eyes and a big smile make it a character.
- The shape is lopsided.
- Draw a light line down the middle first and make both sides match.
- It floats in space.
- Draw a little shadow or a ground line under it so it sits on something.
- Pressing hard from the very first step.
- Use light, sketchy lines first. You can erase them easily and go over the lines you keep at the end.
More in 10 common drawing mistakes kids make.
Talk about it
For the grown-up: ask one or two of these while your child draws. There are no wrong answers.
- If this thing could talk, what would it complain about?
- Where would you put it in your house?
- Which part are you proudest of?
- What colors will you use, and why?
More ideas in 25 questions to ask kids about their art.
Questions about this drawing lesson
What age is this glue bottle: free drawing lesson for?
Ages 5 and up (about grades K to 2). Younger kids can follow along with a grown-up, one step at a time.
How long does it take?
About 15 minutes, including time to pause the video. Kids who add their own details or a background often keep going longer.
What supplies do you need?
Pencil and eraser; paper, or the printed page; crayons, markers or colored pencils.
What size does it print?
US Letter (8.5 by 11 inches). Use Print this page or Download PDF above. On A4 paper, choose “Fit to page” in the print settings.
Can kids draw the glue bottle: free without printing the page?
Yes. Draw on any paper and copy one step at a time from the screen, or pause the video after each step. Classroom mode shows one step at a time, full screen.
For teachers: grade, timing and standards
Grades K–2, about 15 minutes. Step-by-step drawing, easy level. The video does the teaching: press play and let students draw along.
National Core Arts Standards (visual arts)
- VA:Cr2 Organize and develop artistic ideas and work: students build drawing skills by following a sequence of steps.
- VA:Cr3 Refine and complete artistic work: students add their own details, expressions and color to finish the character.
See every lesson by standard, plus the math in grid drawing, on the arts standards map.
Copies: print as many as your class needs. Use classroom mode above to show one step at a time on your board. More in the teacher resources and our no-prep sub plans.
Get the free Christmas Drawing Pack
10 printable Christmas pages to draw, trace, color and decorate, sent with your welcome email. After that, Kevin’s newsletter brings new free pages and book news.
Take the idea into a book
Want more characters to draw, trace or color? Explore these related books and see which approach fits your next creative session.
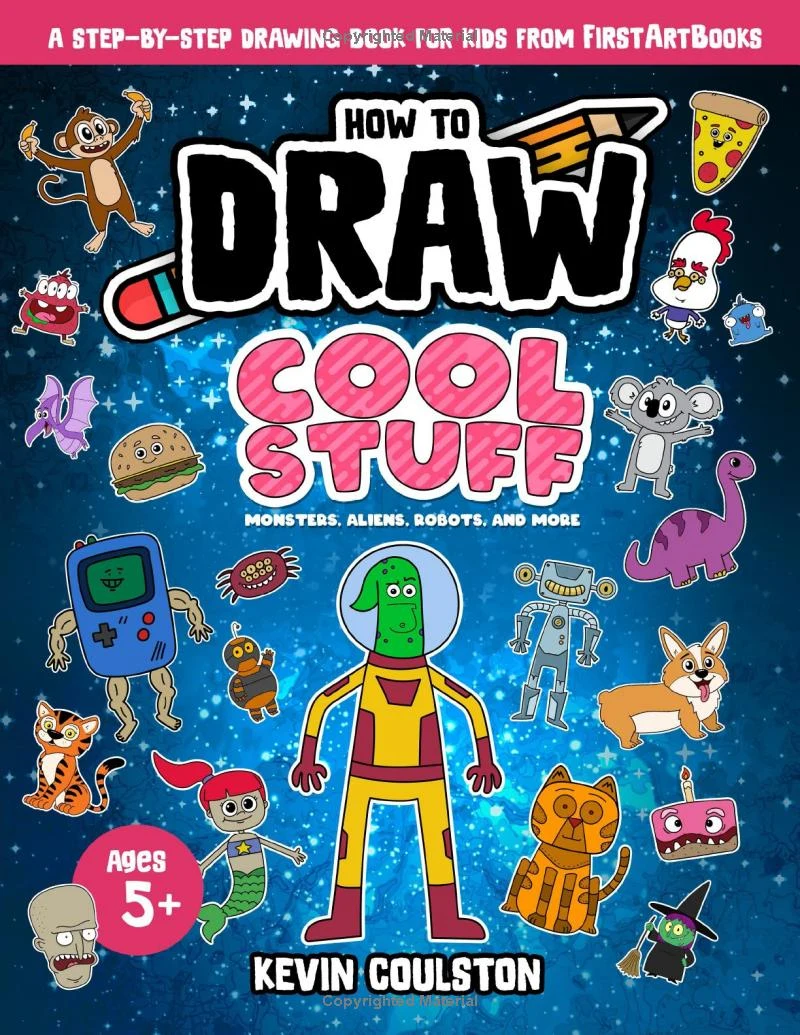
How to Draw: Cool Stuff
By Kevin Coulston
Explore this book →
How to Draw: Food Monsters
By Kevin Coulston
Explore this book →
Trace Then Color: Cartoon Food Monsters
By Kevin Coulston
Explore this book →Another idea to try
 Free activities
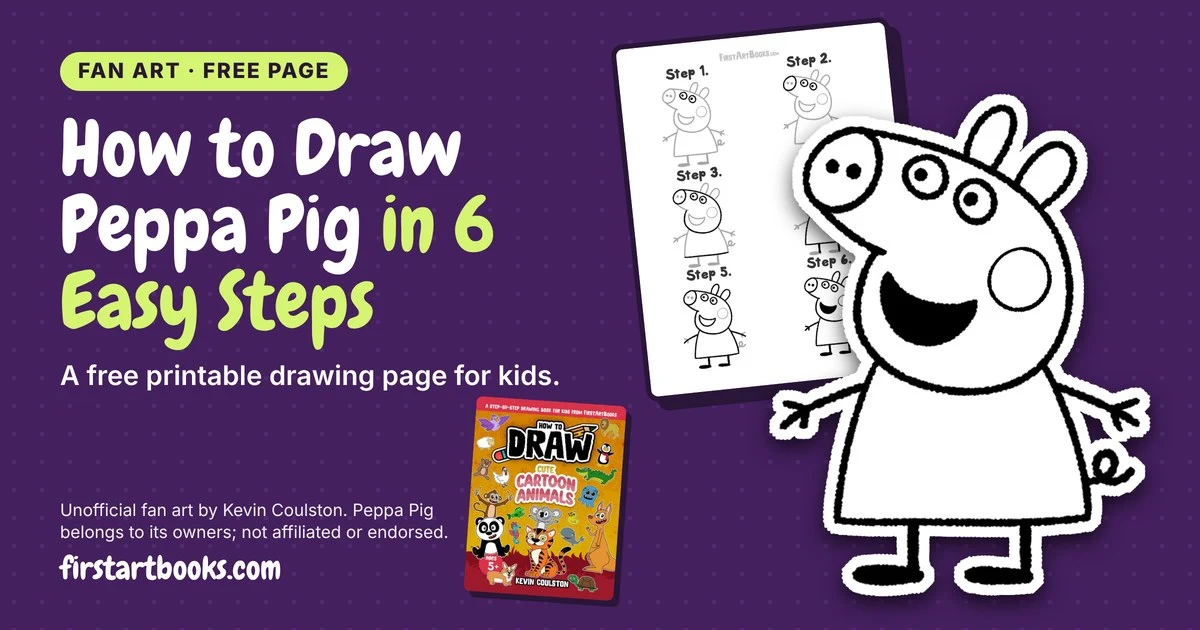
How to Draw Peppa Pig: Free Fan Art Drawing Page for Kids
Learn how to draw Peppa Pig in 6 easy steps with a free printable fan art drawing page and video for kids by cartoonist Kevin Coulston. Unofficial fan art, not affiliated with the show.
 Free activities
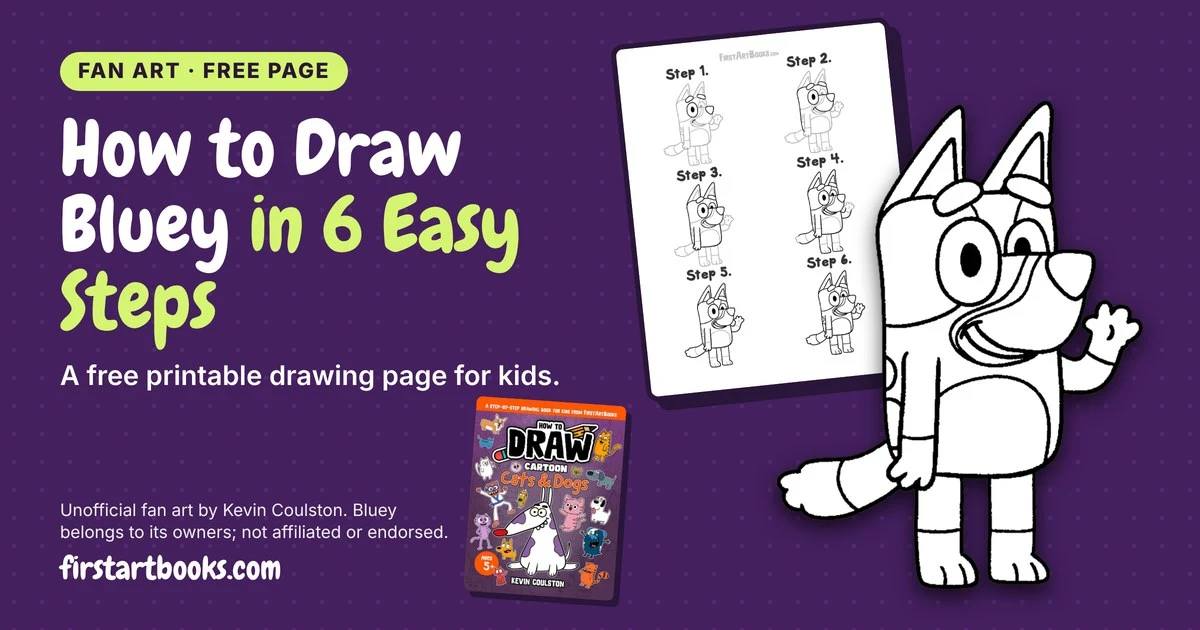
How to Draw Bluey: Free Fan Art Drawing Page for Kids
Learn how to draw Bluey in 6 easy steps with a free printable fan art drawing page for kids by cartoonist Kevin Coulston. Unofficial fan art, not affiliated with the show.
 Free activities
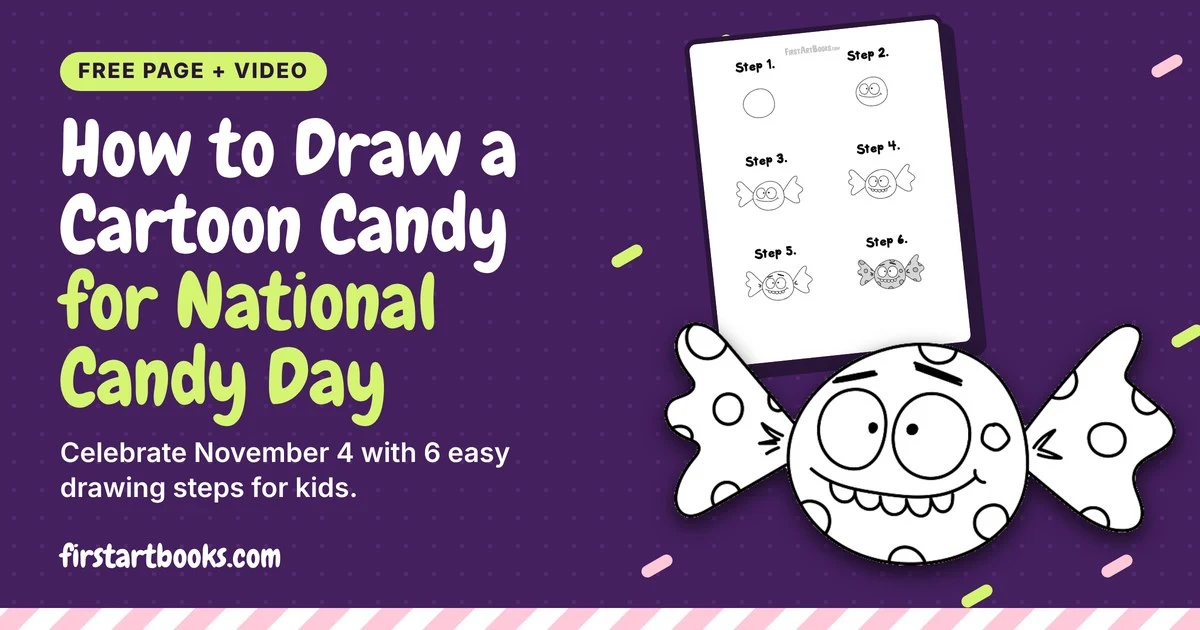
How to Draw a Cartoon Candy for National Candy Day
Celebrate National Candy Day (November 4) by learning how to draw a silly wrapped cartoon candy in 6 easy steps, with a draw-along video and free tracing and grid drawing pages.